It is a feeling every car enthusiast in Lahore knows. You have just enjoyed a drive, perhaps down MM Alam Road, and parked your pride and joy. As the sharp Gulberg streetlights hit the paint, your heart sinks. The surface, which looked perfect moments ago, is now a chaotic web of fine scratches, a vortex of swirl marks that cheapens its gloss. It is a heartbreaking sight.
Those spider-webs are a sign that your car’s paint—its very skin—is crying out for help. Moreover, if you are considering Paint Protection Film (PPF) to shield it, addressing these defects is not just recommended;it is mandatory.
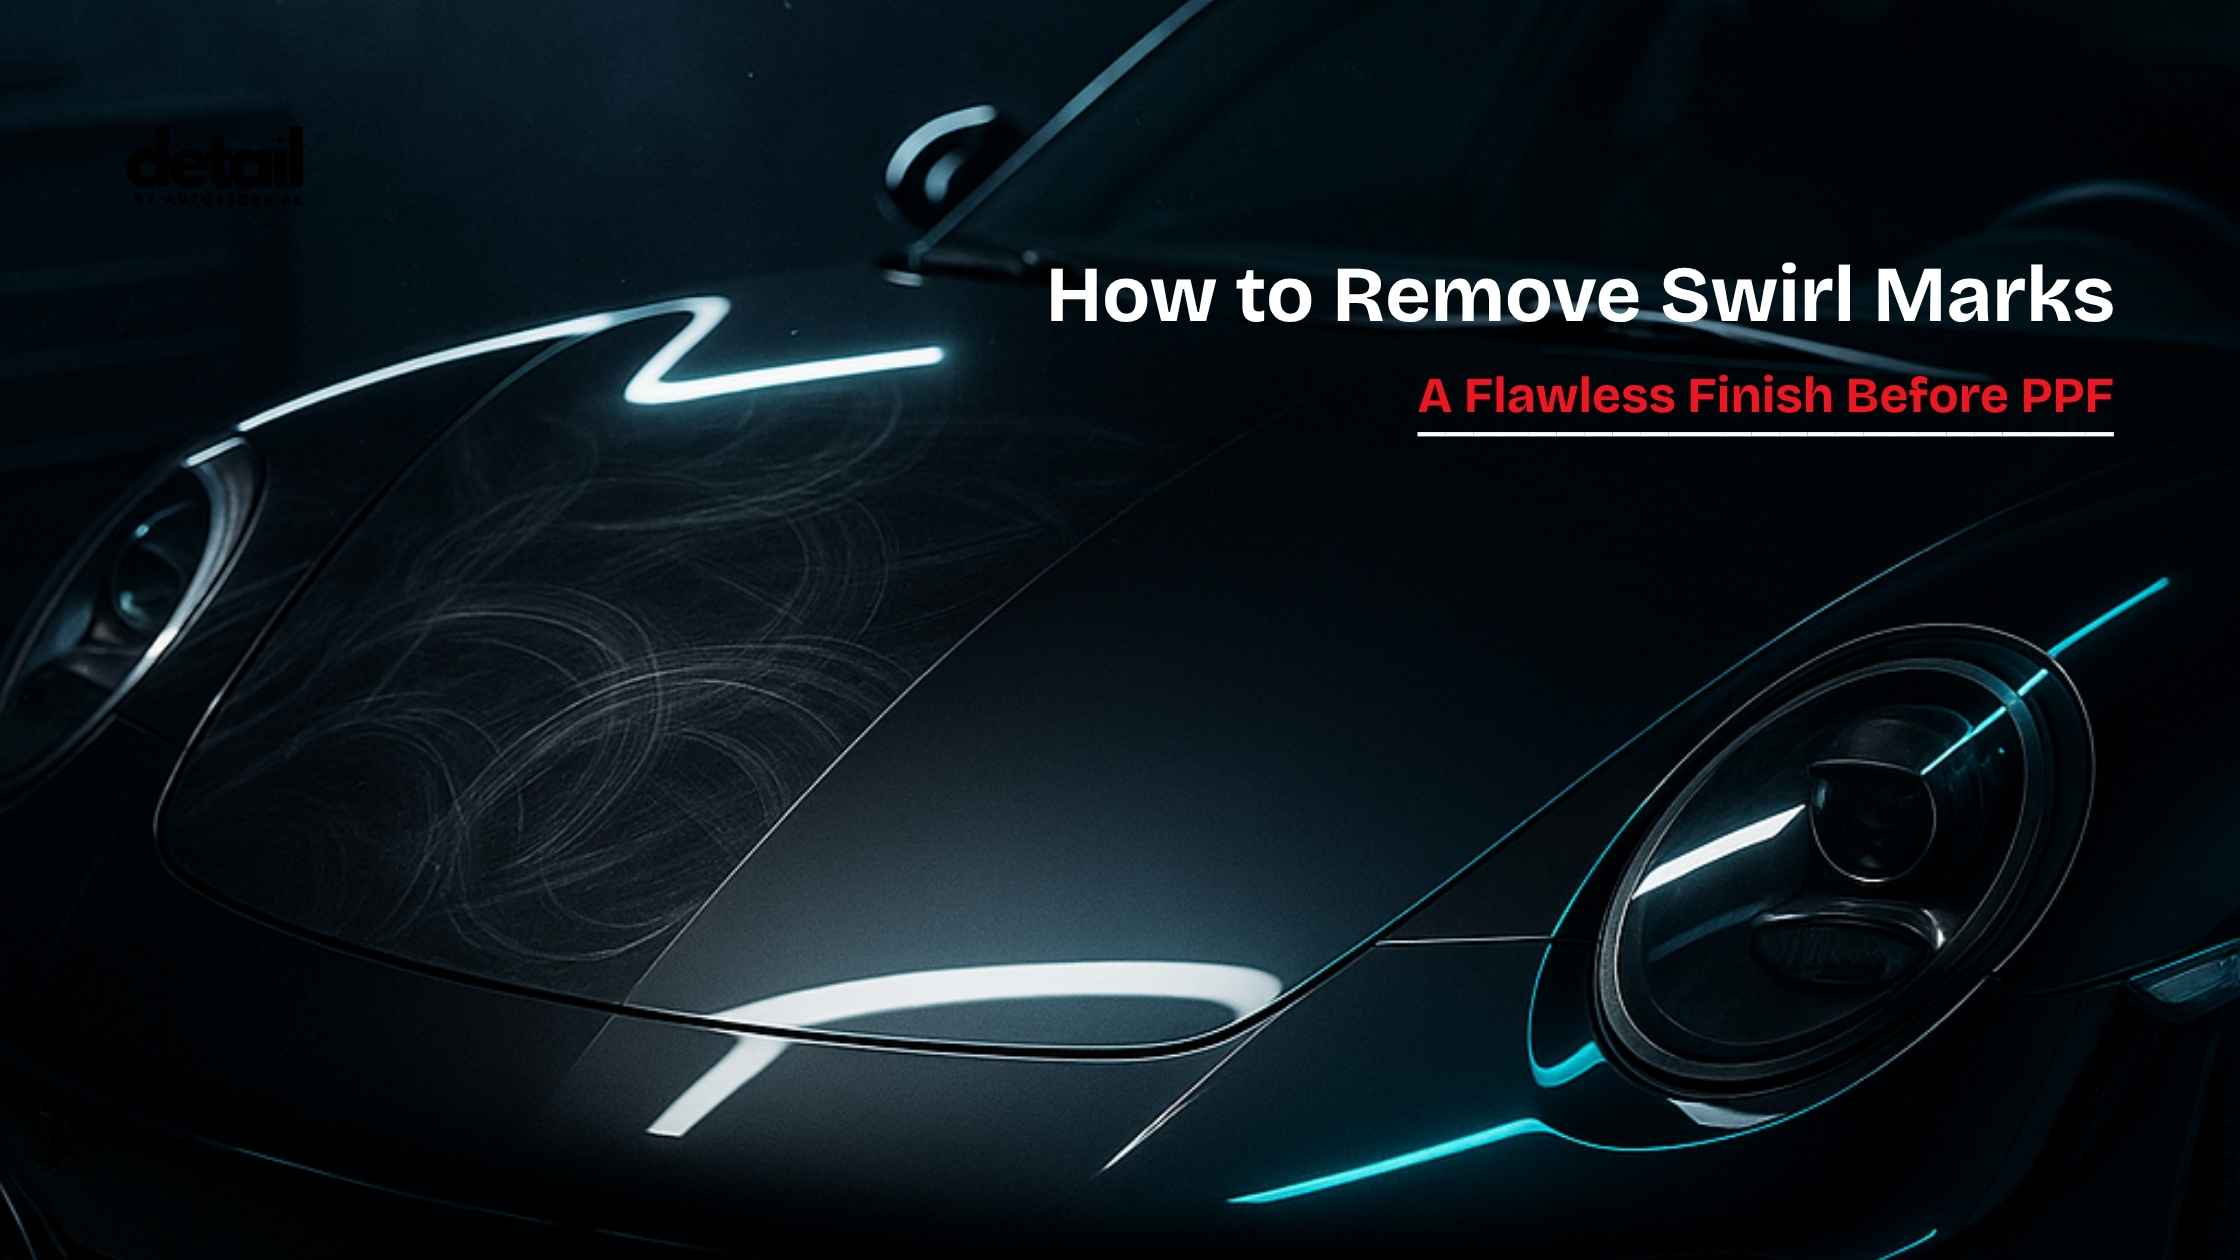
Why Do Swirl Marks Happen? The Anatomy of a Scratched Surface
Think of your car’s paint as its skin. It has multiple layers, with the topmost being the clear coat—a transparent, durable layer designed to protect the colour underneath from the elements. This clear coat is your car’s first line of defence, but it is not invincible. Factory paint systems are engineered for durability, often tested against accelerated weathering standards, to withstand environmental fallout. However, this durability does not prevent mechanical damage.
Swirl marks, also known as micro-marring, are microscopic scratches on this clear coat. They are often caused by improper washing and drying techniques, where dirt and grit are dragged across the surface in circular motions.
Here in Lahore, the challenges are unique. The combination of abrasive dust, the grit from monsoon downpours, and the intense sun, which can reach a “very high” UV index during peak months, accelerates this damage. An informal audit at our Detailing Studio revealed a startling statistic: an estimated 65% of daily-driven cars in Lahore show visible micro-marring under inspection lights. This is compounded by the steady growth in car ownership in Pakistan, resulting in more vehicles on the road and making them susceptible to this common issue.
These defects are physical damage to the top few micrometres of the clear coat. While individually tiny, thousands of these parallel scratches collectively catch the light, creating that dreaded hazy, swirled effect.
Why You Must Correct Paint Before Applying PPF
Applying Paint Protection Film over swirled paint is like putting a screen protector on a phone with fingerprints and dust already on the glass. The PPF is optically clear; it will not hide the imperfections underneath. It will seal them in, locking those ugly swirls between your paint and its new protective layer for years to come.
The goal of PPF is to preserve perfection. Therefore, achieving a flawless, mirror-like surface through paint correction is the most critical preparatory step. Polishing the paint ensures that what you are preserving is a deep, rich, and defect-free finish that will sparkle for years under its new shield.
Your Paint Correction Toolbox: A Checklist for Success
Embarking on a paint correction journey requires the right tools. Using professional-grade equipment not only delivers superior results but also ensures you do the job safely. Here is what the pros at Detail by Autostore.pk recommend:
Dual-Action (DA) Polisher
For both beginners and seasoned enthusiasts, a DA polisher is the weapon of choice. Unlike a high-risk rotary polisher that only spins, a DA machine also oscillates, creating a random pattern that drastically reduces the risk of burning through the paint (Phillips, 2013). It is the safest way to achieve professional results.
Polishing Pads
Pads are not one-size-fits-all. They come in various materials (foam, microfiber) and “aggressiveness” levels, often color-coded for easy identification.
- Cutting Pads (Orange/Yellow Foam, Microfiber): More aggressive, designed to remove deeper swirls and scratches.
- Polishing Pads (White/Green Foam): A middle ground for refining the finish after the cutting stage or for removing light swirls.
- Finishing Pads (Black/Blue Foam): The softest pads, used to apply a final polish or sealant for maximum gloss.
Compounds and Polishes
These are the liquid abrasives that do the work. Products with Super-Micro Abrasive Technology (SMAT) are effective at removing defects without introducing further hazing (Meguiar’s, n.d.).
Cutting Compound
A coarser abrasive for removing significant defects.
Finishing Polish
A finer abrasive designed to remove any haze left by the compound and create a high-gloss, reflective surface.
Essential Safety & Prep Gea
- Paint Thickness Gauge (PTG): A non-negotiable tool for measuring the total thickness of your paint. This helps you know how much clear coat you have to work with.
- Isopropyl Alcohol (IPA) Solution (15-25%): To wipe down panels after polishing to remove oils and reveal the actual state of the paint.
- High-Quality Microfiber Towels: You will need separate towels for wiping off compound, polish, and IPA.
- Detailing Clay Bar & Lubricant: To remove bonded contaminants from the paint before polishing.
- Automotive Masking Tape: To protect sensitive trim, plastic, and panel edges from the polisher.
- Inspection Lighting: A high-quality LED swirl-finder light or headlamp to properly inspect your work.
The Step-by-Step Process for Flawless Swirl Mark Removal
Follow this systematic process to safely and effectively learn how to remove swirl marks and achieve a stunning finish.
1. Decontamination Wash
The journey to perfect paint begins with a flawless wash. You cannot polish a dirty car, as this will only grind existing dirt into the paint, causing more damage.
- Start with a touchless pre-rinse to remove loose debris.
- Use the two-bucket wash method: one bucket with your car shampoo solution and a second with plain water to rinse your wash mitt. This prevents transferring grit back to the car.
- Wash in straight lines, not circles, working from the top of the vehicle down.
- Rinse thoroughly and dry using a plush microfiber drying towel or an air blower.
2. Chemical & Mechanical Decontamination (Claying)
Even after a wash, contaminants like tar, tree sap, and industrial fallout can remain on your paint.
- Spray a section of the paint with a dedicated iron remover. If you see purple streaks, the product is dissolving iron particles. Rinse thoroughly.
- Next, use a clay bar or clay towel with plenty of lubricant. Glide the clay over the paint in a small section. You will feel it grabbing at first; continue until it glides smoothly. This means the bonded contaminants are gone.
- Wipe the section dry and move to the next.
3. Paint Depth Measurement: Know Your Limits
This is a critical safety check. The average modern car has a total paint thickness of about 100-180 microns (µm). The clear coat, which you will be polishing, is only about 35-50 microns.
Tip: Use your Paint Thickness Gauge to take multiple readings on each panel.
DISCLAIMER: If your average readings are below 80-90 µm, the clear coat is likely too thin for aggressive polishing. At this stage, it is safest to seek professional help. Proceeding on a thin, clear coat risks permanent paint failure.
4. The Test Spot Philosophy
Never start polishing the entire car with your most aggressive combination. Always perform a test spot on an inconspicuous area, a core principle of safe detailing (Phillips, 2013).
- Tape off a 2×2 ft square.
- Start with your least aggressive combination: a finishing polish on a polishing pad.
- Apply 4-5 pea-sized drops of polish to the pad, spread it on the panel at a low speed, then increase the polisher speed.
- Work the polish in a cross-hatch pattern (up-and-down, then left-to-right) with light pressure, moving the machine slowly.
- After a few passes, wipe the area with IPA and inspect with your light. If swirls remain, step up to a more aggressive pad or polish and repeat until you find the combination that safely removes the defects. This is your formula for the rest of the car.
5. Progressive Polishing Passes
Now, apply the winning combination from your test spot to the rest of the vehicle, working one small section at a time.
- Cutting Pass (if needed):
- Pad: Microfiber or Foam Cutting Pad
- Product: Cutting Compound
- DA Speed: 4-6 OPM (Orbits Per Minute)
- Technique: Work until the compound becomes clear or starts to dust. Clean your pad frequently with a brush or compressed air. Advanced detailers sometimes use the “Kevin Brown Method” (KBM), which emphasizes meticulous pad cleaning to control residue and maintain cutting performance (Brown, n.d.).
- Finishing Pass:
- Pad: Foam Polishing/Finishing Pad
- Product: Finishing Polish
- DA Speed: 3-5 OPM
- Technique: Use lighter pressure and slightly faster arm speed to refine the surface and maximize gloss. The goal here is clarity and reflection.
6. IPA Wipe-Down and Final Inspection
After polishing each panel, perform a final wipe-down with your IPA solution. This removes any polishing oils that can temporarily fill in fine scratches, giving you an accurate picture of your results. Inspect every angle with your swirl-finder light to ensure all defects are gone before you declare victory. The surface should feel glass-smooth under a clean microfiber towel.
A Quick Word from the Studio: Ahmed’s Black Civic
We recently had a client, Ahmed, with a beautiful black Honda Civic. He loved his car but was frustrated by the swirl marks that were especially visible on the dark paint. After a two-step paint correction, he ran his hand over the fender and was speechless. “It feels like liquid glass,” he said. That sensory feedback—the pure smoothness of a perfectly polished panel—is the valid reward of this process.
Common Mistakes to Avoid in Swirl Mark Removal
Even with the right tools, minor errors can lead to big frustrations. Watch out for these common pitfalls:
- Overheating Edges: Panel edges and body lines have thinner paint. Be extra careful and use less pressure in these areas to avoid burning through the clear coat.
- Using Dirty Pads: A pad clogged with old polish and removed paint will not cut effectively and can even introduce new scratches (Brown, n.d.).
- Skipping Masking Tape: Taking a few minutes to tape off plastic trim, rubber seals, and emblems will save you hours of cleanup and prevent accidental damage.
- Working in Direct Sunlight or on a Hot Panel: Polishes are designed to work on cool surfaces. Heat can cause them to dry out too quickly, leading to poor results and a difficult wipe-off.
DIY vs. Professional Paint Correction: A Decision Matrix
Should you tackle this yourself or trust a professional? Here is a breakdown to help you decide.
|
Factor |
DIY Approach |
Professional Service (Detail by Autostore.pk) |
|
Time |
10-20 hours for a first-timer | 6-12 hours |
|
Cost |
High initial investment in tools (~PKR 40,000 – 80,000+) |
One-time service fee |
|
Risk |
Moderate to High (risk of burning paint, holograms, inconsistent results) |
Very Low (Experienced technicians, insured work) |
| Result | Good, but may lack the final 10% of professional refinement |
Flawless, uniform, show-car level finish |
| Best For | Hobbyists who enjoy the process and want to learn a new skill. |
Owners who want guaranteed, perfect results without the time and risk. |
Ready for Flawless Paint?
Learning how to remove swirl marks is a rewarding skill that connects you more deeply with your vehicle. It transforms your car’s finish from merely “clean” to truly breathtaking.
However, paint correction is a delicate art that balances aggression with finesse. If you have read this guide and feel the task is too daunting, or if you simply want the peace of mind that comes with a guaranteed perfect result, our team is here to help.
Step into the sun with confidence. Let your paint sparkle with the same fire it had the first day you met.
Ready for a finish that’s flawless from every angle?
Book your paint correction and PPF consultation at our Detail By Autostore.pk MM Alam Detailing studio today.