Pop the hood after a summer drive through Lahore. A wave of heat hits you, carrying the scent of hot metal and road grime. What you see is a landscape of dust, oil, and the caked-on residue from Badami Bagh traffic. It’s a mess that not only looks bad but can also harm your car’s performance. Many owners are terrified to take water to this complex web of wires and hoses, and for good reason. But what if you had a clear, safe roadmap to transform that grimy engine bay into a spotless, showroom-worthy space? This guide provides the ultimate engine bay cleaning do’s and don’ts, designed to give you confidence, protect your vehicle’s sensitive components, and deliver a professional-level shine.
Why a Clean Engine Bay Matters More Than You Think
Keeping the heart of your car clean isn’t just for show-offs. It’s a critical part of vehicle maintenance with tangible benefits in the real world.
- Better Cooling: A thick blanket of grime can trap heat, forcing your cooling system to work harder. A clean engine dissipates heat more efficiently.
- Easier Leak Detection: It’s impossible to spot a small oil or coolant leak when everything is already covered in gunk. A clean bay makes diagnosis quick and easy.
- Corrosion Prevention: The combination of dirt, monsoon moisture, and road salt can accelerate corrosion on metal parts and electrical connections.
- Increased Resale Value: Popping the hood to reveal a pristine engine bay signals to potential buyers that you’ve meticulously cared for your vehicle.
Safety First: Your Pre-Clean Checklist
Before a single drop of water touches your car, run through this safety checklist. Rushing this stage is where most mistakes happen.
|
Action |
Reason | Recommended Time |
|
Let the Engine Cool Down |
Spraying cold water on a hot engine block or exhaust manifold can cause cracks due to thermal shock. | 45-60 minutes |
|
Disconnect the Battery |
Disconnect the negative terminal to reduce the risk of short circuits if water gets where it shouldn’t. |
2 minutes |
| Cover Sensitive Components | Use plastic bags and tape to protect the alternator, air intake/filter, fuse box, and any exposed wiring harnesses. |
5-10 minutes |
| Wear Protective Gear | Safety glasses and gloves will protect you from chemical splashes and grime. |
1 minute |
Your Toolkit: The Right Products for a Safe, Clean
Using the wrong tools is as dangerous as using the wrong technique. Here’s what you’ll need:
- A Quality Degreaser: Look for a pH-balanced or citrus-based degreaser. Harsh, high-alkaline chemicals can stain aluminum and dry out plastic.
- Assorted Soft Brushes: A set of long-handled, soft-bristled brushes is essential for agitating grime in tight spaces without scratching surfaces.
- Low-Pressure Water Source: A standard garden hose with a spray nozzle is perfect. This is not a job for a high-pressure washer.
- Microfiber Towels: You’ll need several for drying and applying dressing.
- Plastic & Rubber Dressing: A water-based, non-greasy dressing restores a rich, dark finish to hoses and plastic covers, preventing the attraction of additional dust.
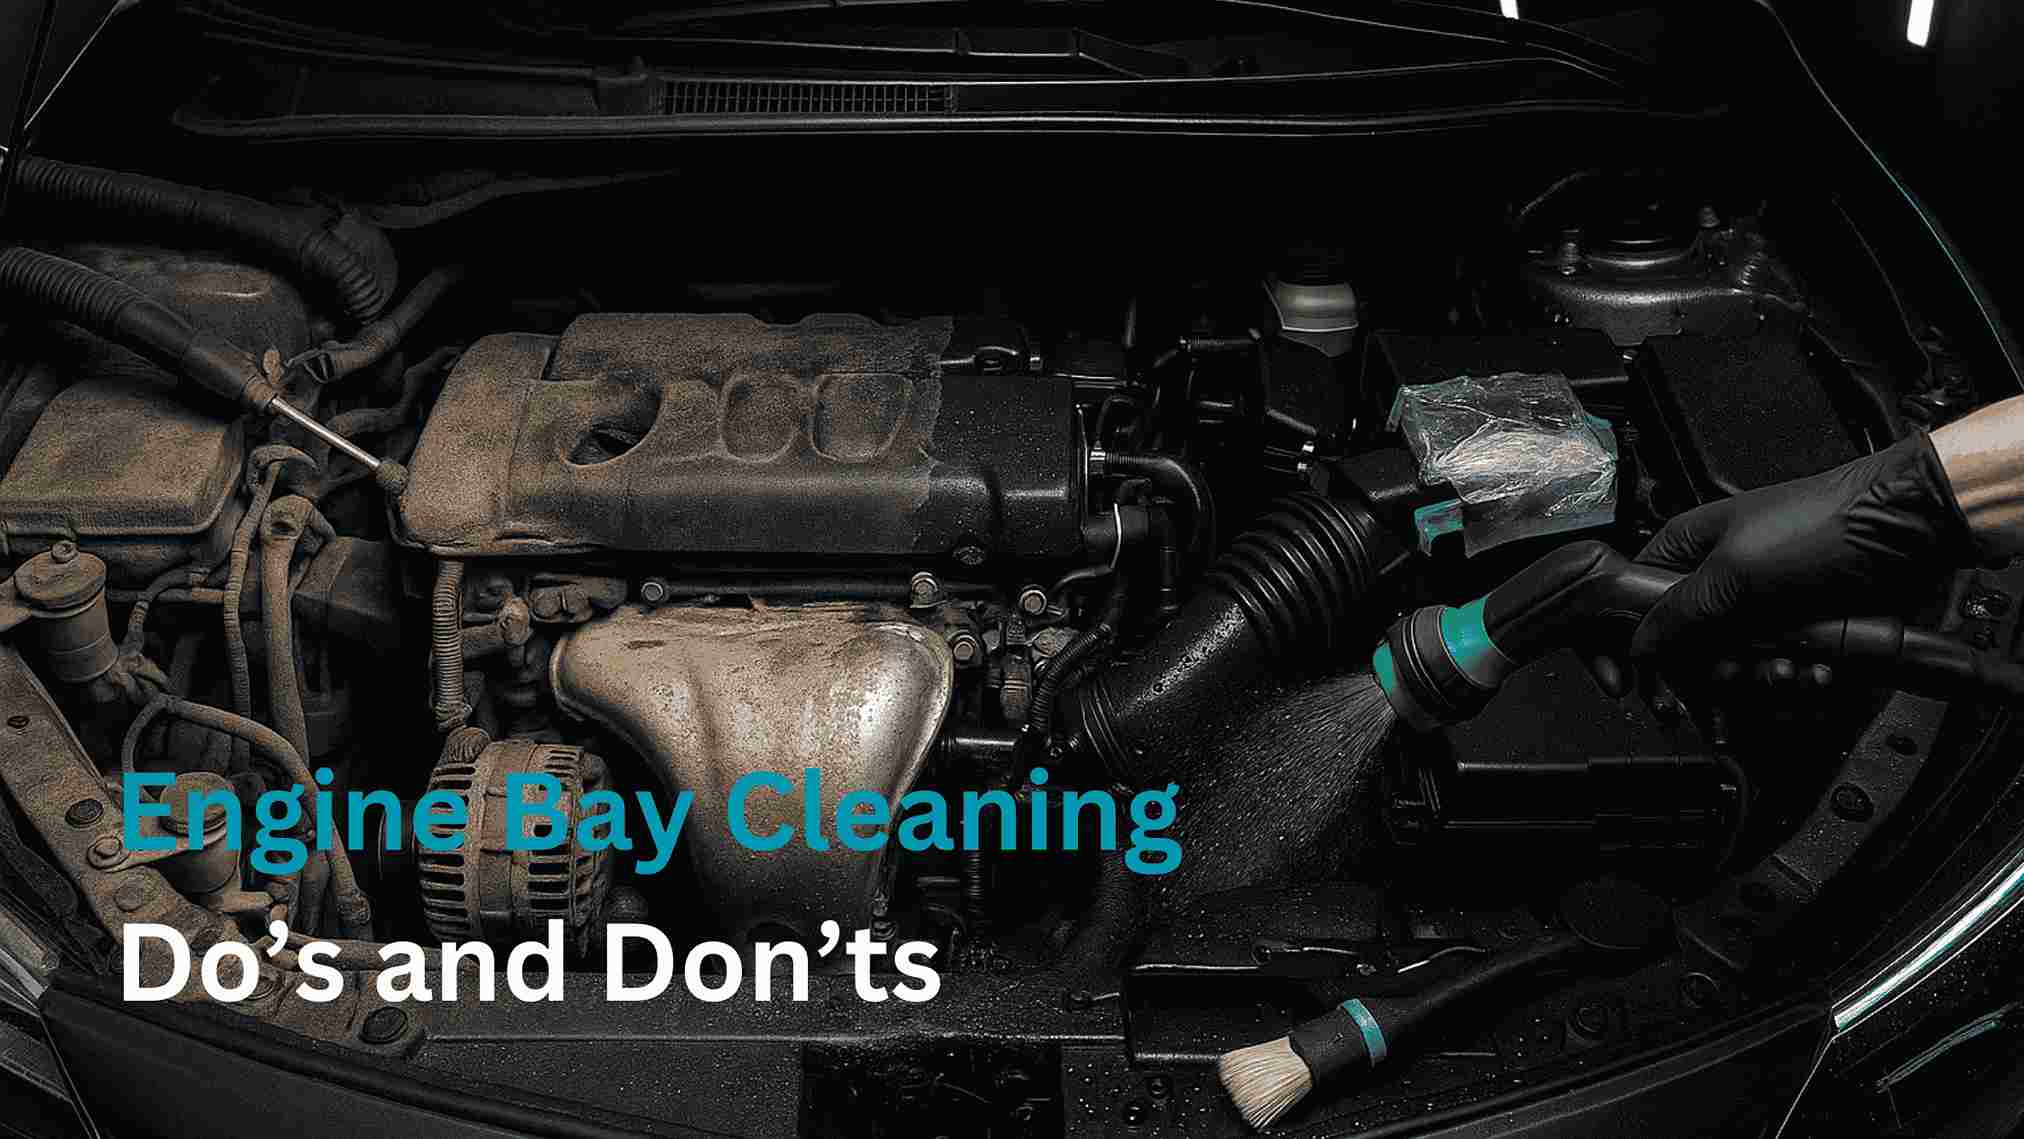
The Do’s ✅: Your Guide to a Safe and Effective Clean
Follow these rules religiously to ensure a damage-free detail.
- DO work on a completely cool engine. This prevents thermal shock and stops the degreaser from drying too quickly, which can cause spotting.
- DO cover all sensitive electronics. Your alternator, fuse box, and air intake are the most vulnerable. A plastic shopping bag and some tape are your best friends in this situation.
- DO use the lightest water pressure possible. A gentle mist or shower setting is all you need to rinse away dirt and chemicals.
- DO use a dedicated, pH-balanced degreaser. These are formulated to break down oil and grease without harming the plastics, rubber, and metals in your engine bay.
- DO agitate the surfaces with soft brushes. Spraying and rinsing isn’t enough. You need to break the bond between the grime and the surface manually.
- DO rinse thoroughly. Any leftover degreaser can cause spotting or attract more dirt. Rinse from the top down.
- DO dry everything as much as possible. Use a leaf blower or compressed air, if available, followed by microfiber towels, to remove standing water.
- DO apply a water-based dressing. This restores a like-new satin finish to plastics and hoses, providing a hydrophobic layer that makes future cleaning easier.
- DO start the engine after you’re done. Reconnect the battery, remove all plastic coverings, and let the engine run for 10-15 minutes. The residual heat will evaporate any remaining moisture.
The Don’ts 🚫: Absolute No-Nos for Engine Cleaning
Avoiding these common mistakes is just as important as following the proper steps.
- DON’T use a high-pressure washer. It can force water past weather seals and into sensitive electrical connectors, causing thousands of dollars in damage.
- DON’T soak the engine bay. Use just enough water to accomplish the task. More is not better.
- DON’T use harsh household cleaners or All-Purpose Cleaners (APCs). Their high pH can cause permanent staining on bare aluminum and other metal components.
- DON’T spray degreaser on a hot engine. It will fizz like soda on hot metal, bake onto the surface, and be nearly impossible to remove.
- DON’T forget to rinse the underside of the hood. This area tends to accumulate a lot of dirt and is often overlooked.
- DON’T scrub with hard-bristled brushes. They can easily scratch plastic covers and painted surfaces.
- DON’T apply a greasy, silicone-based dressing. These “wet look” products attract a thick layer of Ferozepur Road cement dust, making your engine bay dirtier, faster.
- DON’T slam the hood shut when you’re done. Let the engine idle with the hood open to allow any monsoon steam and moisture to escape entirely.
- DON’T rush the process. A safe and thorough engine bay detail takes time. Plan for at least 1-2 hours.
The Step-by-Step Professional Process
- Prep: Ensure the engine is cool. Disconnect the negative battery terminal.
- Cover: Use plastic bags to mask the alternator, air intake, fuse box, and any exposed electrical units.
- Pre-Rinse: Gently rinse the entire engine bay with a light mist to remove loose dust and debris. Maintain a hose distance of at least 30 cm (11.8 inches).
- Apply Degreaser: Spray your pH-balanced degreaser liberally on all greasy and grimy surfaces. Let it dwell for 2-3 minutes, but don’t let it dry.
- Agitate: Use your soft brushes to scrub all surfaces, reaching into tight corners. This is the most important step for achieving a deep clean.
- Rinse Gently: Rinse all loosened grime and degreaser away, working from top to bottom.
- Dry: Use a leaf blower or microfiber towels to dry the engine bay as thoroughly as possible. Pay special attention to ignition coil areas and connectors.
- Dress & Inspect: Remove all plastic coverings. Apply a thin, even coat of water-based dressing to all plastic and rubber components. Wipe away any excess.
Product Recommendations for the Lahore Climate
|
Attribute |
Recommended Product Type | Why It Works Here |
|
Degreaser |
Carrera Engine Degreaser |
Clings to vertical surfaces to break down stubborn, baked-on diesel soot and dust without harming plastics. |
| Dressing | Meguiar’s Engine Dressing |
Dries to a non-greasy, satin finish that repels water and doesn’t attract the fine dust prevalent in the city. |
DIY vs. Professional Engine Bay Detailing
|
Factor |
DIY Approach | Professional Service (Detail by Autostore.pk) |
|
Time |
1-2 hours | 30 minutes (drop-off & pickup) |
|
Cost |
Low (cost of products) |
Moderate (service fee) |
| Risk | Medium to High (if done incorrectly) |
Very Low (trained pros with the right tools) |
| Finish Quality | Good |
Showroom-level, with all nooks and crannies addressed. |
FAQs: Engine Bay Cleaning: Do’s and Don’ts
Can I pressure-wash my engine if I wrap the sensors really well?
We strongly advise against it. The force of a pressure washer can damage delicate components and force water past seals into critical electrical connections. The risk is too high. A standard garden hose provides more than enough pressure for safe and effective cleaning.”
What’s different about cleaning a hybrid or electric car’s engine bay?
STOP. Do not use water to clean the under-hood area of most hybrid and EV cars. These contain high-voltage components (often marked with bright orange cables) that are extremely dangerous. This job should only be left to trained professionals who use specific waterless cleaning methods.
How often should I clean my engine bay?
For a daily driver in a dusty city like Lahore, a deep clean once or twice a year is usually sufficient to prevent heavy buildup and maintain performance.
Your Engine Bay Tells a Story
A clean engine bay is the sign of a truly dedicated owner. It shows you care about performance and preservation, not just a shiny exterior. Whether you wrench on weekends or cruise MM Alam nightly, a spotless engine bay tells your whole story before the first rev. Follow this guide, take your time, and enjoy the satisfaction that comes with a job done right.
Feeling hesitant? Let the pros handle the risk. Visit our Gulberg detailing studio for a discounted first engine-bay detail, or stop by to pick up our studio-tested safe cleaning kit.