

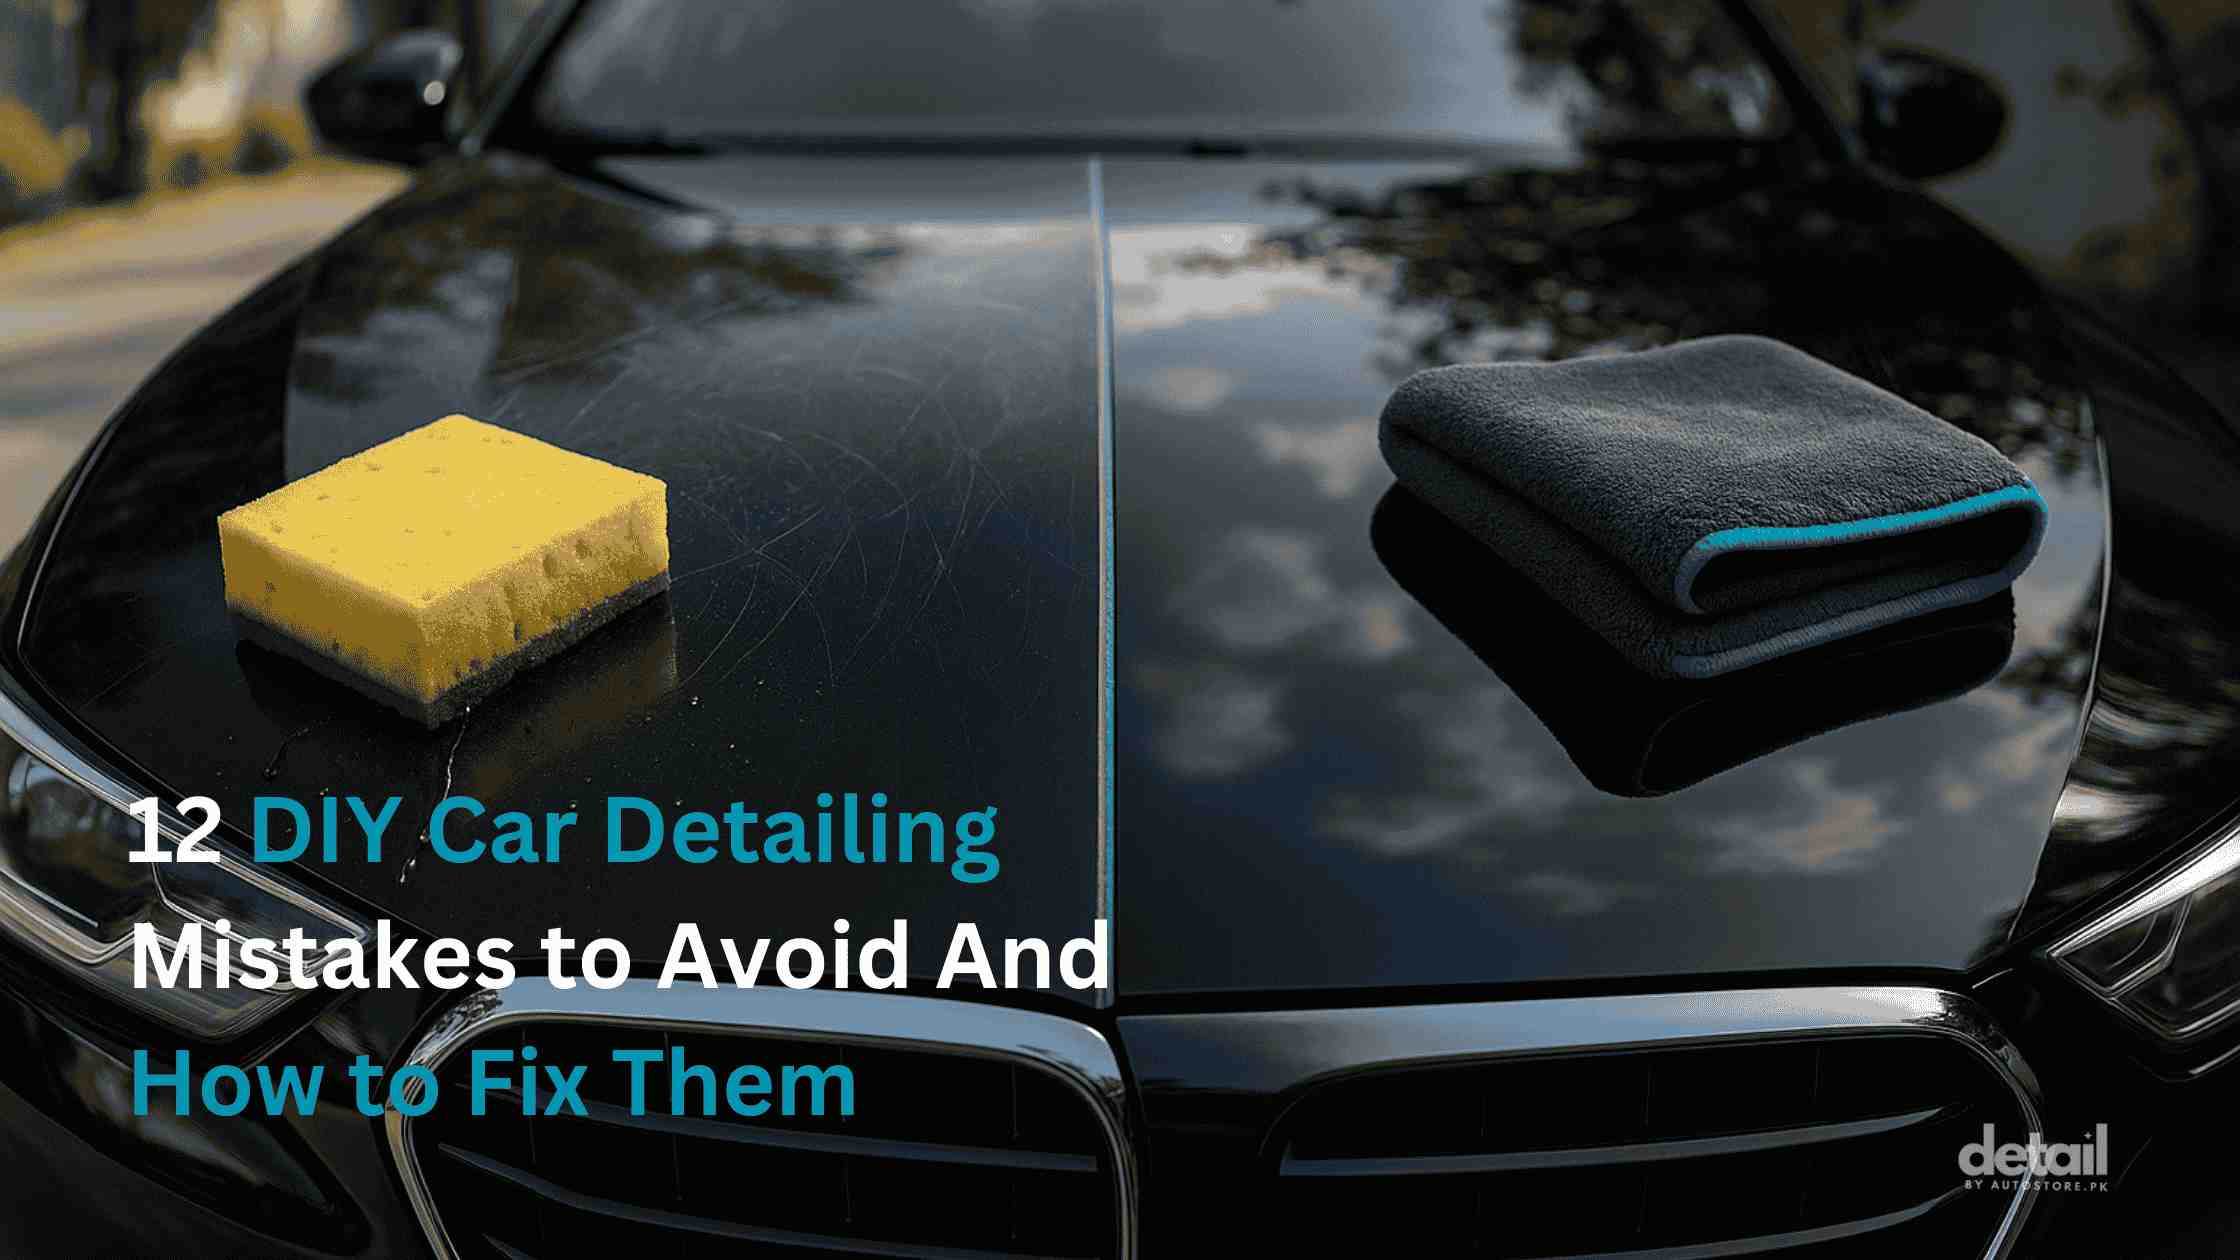
It’s a beautiful Sunday morning. You’re a weekend warrior, bucket and sponge in hand, ready to give your car the shine it deserves. But be warned: one wrong swipe with that gritty towel, one splash of the wrong chemical, and you could be tattooing your paint with swirl marks that last forever. Many well-intentioned enthusiasts, in their quest for a mirror finish, make common DIY car detailing mistakes that do more harm than good.
This guide is your ultimate checklist for sidestepping those blunders. We’ll show you how to detail safely, protect your investment, and achieve a truly professional result right in your own driveway.
Why These Detailing Mistakes Matter
Making a small error might not seem like a big deal, but the consequences add up. Improper techniques reduce the lifespan of your paint by stripping its protective clear coat. They diminish your car’s resale value—a swirled, hazy car looks old and neglected. And, perhaps most frustratingly, they waste your hard-earned rupees on products and tools that end up causing damage you then have to pay a professional to fix.
Quick Glance: The Top 12 Detailing Blunders
|
Mistake |
Immediate Damage | Long-Term Cost (PKR) |
|
1. Using Dish Soap |
Strips all wax & sealant protection | 5,000+ (for sealant reapplication) |
|
2. The Single Bucket Wash |
Scratches, swirl marks, holograms |
20,000 – 40,000 (for paint correction) |
| 3. Using Old T-Shirts/Towels | Deep scratches in the clear coat |
20,000 – 40,000 (for paint correction) |
| 4. Washing in Direct Sun | Stubborn water spots etched into paint |
15,000+ (for polishing) |
|
5. Polishing with Too Much Pressure |
Burning or removing the clear coat | 30,000+ (for repaint of the panel) |
|
6. Using One Towel for Everything |
Cross-contamination, greasy windows | 2,000 (for proper towels & cleaners) |
| 7. Applying Ceramic Coating in the Sun | High spots, streaking, uneven finish |
25,000+ (to strip and re-apply) |
| 8. Using All-Purpose Cleaner on Leather | Drying, cracking, and color fading |
10,000+ (for leather repair/re-dye) |
|
9. Soaking the Headliner |
Sagging, glue failure, water stains | 15,000+ (for headliner replacement) |
|
10. Neglecting the Two-Bucket Method |
Grime re-introduced onto the paint |
20,000 – 40,000 (for paint correction) |
| 11. Dropping a Towel and Reusing It | Dragging grit and stones across paint |
20,000 – 40,000 (for paint correction) |
| 12. Using a “Dirty” Car Cover | Grinding dust into the clear coat |
20,000 – 40,000 (for paint correction) |
A Deep Dive into the 5 Biggest Mistake Clusters
1. Washing & Drying Errors: The Swirl Mark Factory
This is where 90% of paint damage happens. The mistake is thinking a wash is just about soap and water.
- The Sin: Using dish soap. It’s a powerful degreaser designed to strip everything off your plates. On your car, it strips away all your expensive wax, sealant, or ceramic coating, leaving your paint naked and unprotected.
- The Consequence: Your paint is exposed to UV rays, bird droppings, and acid rain, accelerating oxidation and fading.
- The Fix: Use a dedicated, pH-neutral car shampoo. It’s designed to gently lift dirt without stripping your paint’s protective layer.
- The Sin: Using a single bucket. You dunk your wash mitt, clean a panel, and put the dirty mitt right back into the soapy water.
- The Consequence: You’re just picking up the grit and grime you just removed and rubbing it all over the next panel. These micro-dust armies carve tiny S-curves into your clear coat, creating the dreaded swirl marks.
- The Fix: The two-bucket method is non-negotiable. One bucket with soapy water, one with plain water for rinsing the mitt. Both should have a “Grit Guard” at the bottom.
2. Polishing & Compounding Errors: The Point of No Return
Polishing is an abrasive process. You are literally removing a microscopic layer of clear coat to level out scratches.
- The Sin: Using the wrong pad, too much pressure, or too much speed with a rotary polisher.
- The Consequence: You can easily “burn” through the clear coat, especially on panel edges. This is irreversible damage that requires a full repaint.
- The Fix: Beginners should always use a Dual-Action (DA) polisher, which is far safer. Start with a light polishing pad and a fine polish. Let the machine do the work; never apply excessive pressure. Work in a safe RPM range of 800-1200.
3. Protective Coating Fails: The Sticky Situation
Ceramic coatings offer incredible protection, but their application is a chemical process that demands a controlled environment.
- The Sin: Applying the coating in direct sunlight or on a hot panel.
- The Consequence: The carrier solvent flashes off almost instantly, leaving behind a thick, sticky, and uneven layer of the coating. This creates “high spots” that are incredibly difficult to remove once cured.
- The Fix: Always work in the shade on a cool panel. Apply the coating to a small section at a time (e.g., 2×2 ft), watch for the “rainbow” flash, and then level and buff it off within the recommended time. Always use an IPA (Isopropyl Alcohol) panel wipe before application to ensure a pure surface.
4. Interior Detailing Blunders: Damaging Delicate Surfaces
Your car’s interior is a mix of durable plastics and delicate materials. Using one product for everything is a recipe for disaster.
- The Sin: Spraying a harsh All-Purpose Cleaner (APC) on leather seats, dashboards, or screens.
- The Consequence: APCs can be too alkaline for leather, stripping its natural oils and causing it to become dry, faded, and cracked. On screens, they can strip anti-glare coatings.
- The Fix: Use a dedicated, pH-balanced leather cleaner and a separate interior detailer safe for plastics and screens.
5. Climate-Specific Mistakes in Lahore
Our city presents unique challenges that can turn a normal detail into a disaster.
- The Sin: Washing your car at 2 PM on a scorching June afternoon.
- The Consequence: The water and soap evaporate almost instantly, leaving behind stubborn mineral deposits (water spots) that can etch into your clear coat.
- The Fix: Wash your car early in the morning or late in the evening when the panels are cool to the touch.
- The Sin: Trying to do a waterless wash after a Gulberg dust storm.
- The Consequence: You are essentially rubbing sandpaper across your paint. A waterless wash is for light dust, not heavy, gritty contamination.
- The Fix: In heavy dust situations, always perform a proper pre-rinse with plenty of water to lift the heavy particles off before touching the paint with a mitt.
Pro-Level Fixes & Preventive Habits
- Always use the two-bucket wash method. No exceptions.
- Invest in quality microfiber towels. Use separate towels (at least 300 GSM) for washing, drying, interior, and wheels.
- If you drop a towel, it’s dead. Do not reuse it until it has been thoroughly washed in a machine.
- Always test chemicals on a small, hidden spot first.
- Dry your car with a “patting” motion or by laying a large drying towel and gently pulling it off. Avoid the squeaky towel drag.
- Clean your tools. Dirty polishing pads and microfiber towels will scratch your paint.
Tool & Product Essentials: Pro vs. Rookie
|
Task |
Must-Have Pro Tool | Common Rookie Substitute | Why It Matters |
|
Washing |
pH-Neutral Car Shampoo | Dish Soap | Preserves wax/sealant; prevents plastic from drying out. |
|
Drying |
Plush Microfiber Drying Towel | Old Bath Towel / T-Shirt |
Absorbs water without scratching; cotton fibers are abrasive. |
| Scrubbing | Microfiber Wash Mitt | Yellow Sponges |
Lifts dirt into its fibers; sponges trap grit on the surface. |
| Polishing | Dual-Action (DA) Polisher | Aggressive Rotary Polisher |
Safer, reduces the risk of holograms and paint burn. |
DIY vs. Professional Paint Correction
|
Factor |
DIY Approach | Professional Service (Detail by Autostore.pk) |
|
Cost |
High initial tool cost (15k-30k) | Service fee (20k-40k) |
|
Risk |
High risk of burning paint or causing holograms. |
Low risk; insured and experienced technicians. |
| Result | Can improve light swirls. |
Flawless, mirror-like finish; deep scratch removal. |
| Time | 1-2 full days for a beginner. |
6-8 hours. |
FAQs: DIY Car Detailing Mistakes to Avoid
1. Can I buff out fresh swirl marks with a hand polish?
You can slightly reduce the appearance of very light swirls with a high-quality hand polish and considerable effort. However, for a true correction that removes the swirls, you need the power and consistency of a machine polisher.
2. Is leaving my car in the rain a safe “pre-rinse” method?
No. Rainwater is not pure and contains acidic pollutants and dust. As it evaporates, it leaves these contaminants concentrated on your paint, which can cause water spotting. It’s better than nothing, but it’s not a substitute for a proper rinse with clean water.
3. How long should a new ceramic coating cure before I can drive the car?
Most coatings require at least 12 to 24 hours of dry and clean storage. However, the coating continues to harden for up to a week. We recommend avoiding the use of chemicals on the car for at least 7 days. Driving is usually fine after a few hours, but it’s best to avoid driving on dusty roads or in the rain.
Conclusion: Detail Smart, Not Hard
Detailing your own car is one of the most rewarding parts of ownership. The key is to work with your paint, not against it. By avoiding these common mistakes, investing in the right tools, and respecting the process, you can achieve a shine that rivals the pros. Detail smart, not hard—and let your paint thank you with a mirror-bright pride that reflects all your hard work.
Made a mistake, and now you see swirls? Or would you just like to learn from the pros? Visit our Gulberg studio for a free, no-obligation paint inspection and a demo of the right tools for the job.
Call: +92-321-2111-406 WhatsApp: 0302 2111 406